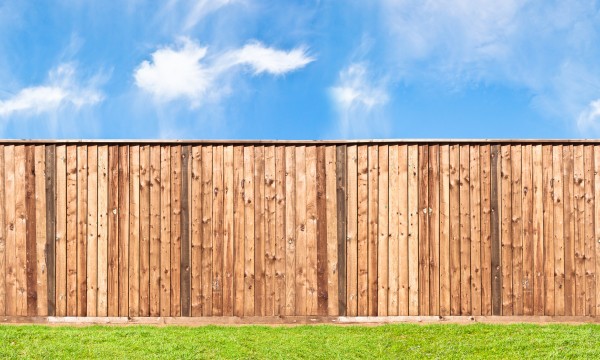
A leaning or wobbly fence is an eyesore and a safety concern, especially if you have children or pets that could be harmed if the fence falls. Fix your wobbly fence with this DIY guide. [Image credit: iStock.com/Lena_Zajchikova]
DIY tips to fix a wobbly fence
A wobbly fence is typically the result of either age or storm damage loosening the post, or rot that has caused fence posts to decay or break. The repair process will differ depending on the cause and the extent of the damage, so the first step is to assess what is causing your fence to lean.
Assessing the damage
Dig away some of the surrounding soil to get a better view of post below the surface and the concrete anchor. If the post is still in one piece, the concrete anchor most likely needs to be reinforced. If the post has rotted or split in two, the entire post will have to be replaced.
Gather materials
If you are simply reinforcing the concrete anchor of the fence post, you will need fewer items than if replacing the entire post. These items include:
- Shovel
- Wheelbarrow or bucket to mix concrete
- Fence post concrete or fast drying concrete mix
- Long level
- 6’ 2x4 and wooden stake to use as support
- Safety goggles, mask and gloves
- Sturdy rope
If you need to replace the entire fence post due to rotting or decayed wood, you will need some additional items:
- Battery-operated drill
- Sabre saw
- Sledge hammer
- Hammer
- 75 mm stainless steel screws
- A second 6’ 2x4 and wooden stake
- Small brick
- New fence post
Get to work
Reinforcing the concrete anchor of the post will be an easier task than replacing the entire post. Here are step-by-step instructions for each repair process:
Reinforcing a post
- Dig around the post to fully expose the concrete base.
- If possible pull the fence back to a straight position. You can use a long level vertically along the post to ensure it is truly straight. If you are unable to move the fence yourself, you can use a sturdy rope to pull the fence straight.
- Place the wooden stake in the ground and attach one end of the 2x4 to it while using the other to prop up and brace the fence in its level position.
- Use a bucket or wheelbarrow to mix the concrete with water, being sure to wear gloves, goggles and a mask.
- Use one gallon of water per 50-pound bag of concrete. Since you will probably use less than a full bag, adjust the amount of water accordingly. Each bag should have proper instructions.
- Work the concrete continually to ensure it does not harden in the wheelbarrow.
- Proper concrete mix should be similar to the consistency of oatmeal. - Pour the wet concrete into the hole you have dug around the fence post, ensuring there are no air pockets. The concrete should be about 1 inch (2.5 cm) below ground level.
- Using the level, double check that the post is straight before the concrete dries.
- The fast drying concrete should set in about 20 to 40 minutes depending on temperature. In cooler weather it will take longer.
- To ensure the concrete has time to dry, wait at least 4 hours or until the next day before placing soil back in the hole. You can also put down grass seed if necessary.
Replacing an entire post
If the entire post needs to be replaced, it may be easier and safer for an experienced professional to complete the job. However, if you have some experience and are confident in your skills, this can also be a DIY task.
- You’ll want to start this process by creating a brace on either side of the broken post. Place the stakes in the ground, attaching one end of the 2x4 to it, while attaching the other to the fence for support.
- Dig away the topsoil to expose the top of the concrete base.
- Use a sabre saw to cut the nails that are holding the rails to the broken post.
- Dig away the remaining soil around the concrete base, so that it can be removed. You may have to use a sledgehammer or other tool to break up the concrete before removal.
- Square up the hole and clean it out, removing any concrete pieces, rock or other debris. Your hole should be at least a square foot in width (30 cm x 30 cm) and 20 to 24 inches (45 to 60 cm) deep to accommodate the new post.
- Place a brick at the bottom of the hole so the post is not sitting on dirt and then place the post in the hole.
- Use a long level vertically along the post to ensure the post is straight. If needed you can release the screws on your brace to adjust the position of the fence.
- Ensure the fence rails are in the same position as the other posts and are level. Adjust them if necessary.
- Predrill the existing fence rails at a 45° angle and screw them to the new post, using at least 4 screws per rail.
- Reattach the screws to your braces to support the fence while the concrete sets.
- Mix concrete according to instructions (it should be the consistency of oatmeal) and pour into the hole.
- Concrete should be allowed to set for about 24 hours, depending on which type you used.
- Remove the braces and attach the fence back to the post.
Though fixing a wobbly fence can be a DIY project for some, this project is not for everyone. If you are unsure about taking on this project alone, it may be a good idea to call a professional. Find a list of local fencing contractors who can complete this job for you, so you don’t have to go it alone. An experienced professional can fix your leaning fence in no time.
National advertising powered by Mediative.com. Yellow PagesTM, Walking Fingers & DesignTM, YP.caTM, Find. & DesignTM, YellowPages.caTM, Canada411TM and YP ShopwiseTM are trademarks of Yellow Pages Digital & Media Solutions Limited in Canada. All other trademarks are the property of their respective owners. Copyright © 2018 Yellow Pages Digital & Media Solutions Limited. All Rights Reserved.


